
Computer graphic design / Guide
How to vectorize an image: three useful tools, clean results
TLDR
Inkscape is my first choice for a free image-to-vector workflow. Start with a clean image, trace it, fix the paths and save an SVG. Illustrator and Vectorizer.AI offer paid routes.
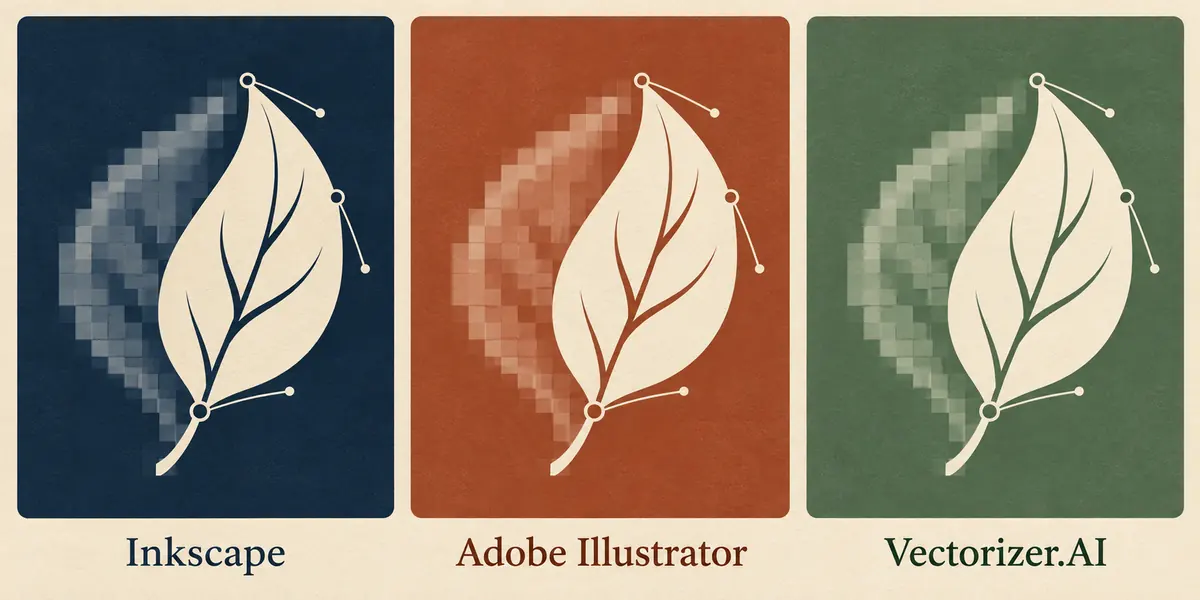
A small logo looks fine in an email, then turns into a staircase when you print it on a sign. Making the image larger will not fix those blocky edges. You need to rebuild its shapes as paths.
That is what it means to vectorize an image. My first choice for a simple logo or sketch is Inkscape. It is free, works on your computer and lets you fix the paths after the trace. Do you have Adobe Illustrator? It gives you more tracing controls. Vectorizer.AI is a useful browser option, with paid downloads.
What changes when you vectorize an image?
Raster images use a grid of pixels. JPG photos and most PNG files belong to this group. Zoom in far enough and you can see the small squares that make up the image.
Vector images use paths, curves and fills. Math tells the app where those paths go. It can draw them at a new size. There is no fixed grid of pixels to stretch. That is why vector graphics suit logos, icons and flat illustrations.
There is a catch. A trace has to guess where one shape ends and the next begins. It can create smooth curves from a clean bitmap image. It cannot know which blurry mark was meant to be part of your logo.
A vector file is not proof of a good trace. You can save a messy outline in SVG format just as easily as a neat one. The cleanup matters as much as the convert button.
Choose a tool before you trace
| Tool | When I would use it |
|---|---|
| Inkscape | A free desktop route for logos, line art and hands-on path cleanup. |
| Adobe Illustrator | Image Trace controls and vector editing in an existing paid design setup. |
| Vectorizer.AI | A quick browser trace with a free look at the result before a paid download. |
Inkscape's strength is free path editing. Its catch is that color traces can leave you with a pile of shapes to sort out. Adobe Illustrator's strength is its Image Trace controls. Its catch is the paid subscription and the time needed to learn them.
Vectorizer.AI's strength is a simple upload and preview flow. Its catch is that the web app charges for downloads, and the image leaves your computer. Need to keep client art private? A local desktop tool may be the better fit.
Prepare the original image
Ask for the source file first
Before you trace a logo, ask whether an SVG, EPS, PDF or original design file exists. A real vector source can save hours. Check that it has paths. A PDF or SVG can also hold a bitmap image.
If the only file is a JPG, use the clearest copy you can get. Avoid screenshots of screenshots. Each pass can add blur or small blocks around the edges.
Crop out what you do not need
A tight crop gives the image vectorizer less clutter to read. Keep the whole design and a small border. Remove the desk, paper edges or other marks around a scanned sketch.
Check the cropped image size before you upload it to an online tool. Keep the aspect ratio unchanged. A stretched source makes stretched vector shapes, and a trace will not correct that for you.
Choose the right image types
PNG files are useful for flat art and clear edges. JPG can work when it is clean, but heavy compression leaves rough patches. An old GIF bitmap image may trace well if it has sharp blocks of color. If it moves, choose a still frame first.
A photo with hair, soft shadows and many tiny tones is a harder job. Ask whether you want a flat vector illustration or the look of the photo itself. Those are two different results.
How to vectorize an image in Inkscape
1. Import and select the bitmap image
Open a new document. Choose File, then Import, and bring in your PNG or JPG. Select the image with the Selector tool. If you choose to embed it, the source stays inside the working file.
2. Open Trace Bitmap
Choose Path, then Trace Bitmap. Inkscape's tracing guide explains the available modes. For a dark logo on a light background, start with a single scan and Brightness cutoff.
3. Adjust the trace
Use the preview to check the main shape. Adjust the threshold until the dark strokes stay joined and small holes remain open. Do not use one setting for every image. A thin pen line needs a different balance from a bold black mark.
For color art, use a color or multiple-scan mode. Start with a small set of colors. Each extra shade can add more shapes and make the vector art harder to edit.
4. Apply and move the new paths
Apply the trace. The new vector sits over the source image, so it may look as if nothing happened. Move the top object aside and compare the two. Keep the bitmap until you are happy with the trace.
5. Fix the rough edges
Use the node tool to inspect the paths. Remove stray dots and fix sharp bumps in smooth curves. Keep the points that define real corners. Fewer anchor points can make a curve easier to control, but too few can change the shape.
6. Save an SVG
Save a working copy first. For a general handoff, select SVG as the file type. Check that the next app can open it. It is a common vector format for web graphics and editable artwork.
Open the saved file again. Select the leaf, letter or other shape with the node tool. If you can edit its paths, you have editable vectors. If you can only select a flat picture, the bitmap may still be doing the work.
How to use Image Trace in Adobe Illustrator
Place the image and open Image Trace
Place your source image in Adobe Illustrator and select it. Open the Image Trace panel from the Window menu. Choose a preset that fits the art, such as a black-and-white trace for a simple mark.
Set the level of detail
The Adobe Illustrator Image Trace controls include color modes, Threshold, Paths, Corners and Noise. Paths affects how closely the trace follows the source. Noise helps ignore tiny areas. Fine tune these while you compare the trace with the image.
Do not chase every small speck. For a logo, the aim is a clear shape with a sensible number of anchor points. For poster art, you may want more color areas and detail.
Expand, then edit
Once the Image Trace result looks right, choose Expand to turn it into editable paths. Ungroup when needed. Then fix rough points, remove unwanted shapes and set the fills.
Keep a copy before major edits. In Adobe Illustrator, an automatic trace is a starting point. Spend a few minutes on cleanup. It can make a big change to the final vector image.
Save the working art and the handoff file
Keep the Illustrator source so you can return to the edit. Export the format your client or print shop asks for. Open that export in a second app when possible, and check the corners, holes and small type.
Use an AI vectorizer for a quick browser result
With Vectorizer.AI, you upload a raster image, let it trace the shapes and inspect the result. Zoom in on the hardest area first. A clean circle tells you less than small lettering or a narrow gap.
The Vectorizer.AI web plan currently costs $9.99 per month in USD. You can upload, trace and see a preview for free. You need the paid plan to download the result. Do not confuse a free preview with a free vector download.
Use the image vectorizer for speed, then inspect the exported SVG in a vector editor. An AI vectorizer can reduce the first pass of work. It does not remove the need to check the paths.
Clean up the vector art before you share it
Look at small gaps and letters
Check enclosed spaces in letters and thin gaps between shapes. A trace may close them. At the final print size, those small errors can make a word harder to read.
If you know the original font and have the right to use it, rebuild the type as text. Tracing a tiny JPG wordmark often creates wobbly letters. A graphic designer may also redraw a simple icon with the pen tool for a cleaner result.
Reduce points without flattening the design
Fewer anchor points usually make edits easier. Use any simplify command with care, then compare the result. A curve that looks smooth at a glance can lose the small bend that gives a mark its character.
View the vector images at normal size as well as close up. A tiny bump may not matter. A changed face or a crooked letter does.
Choose file formats for the next step
| Format | Useful for |
|---|---|
| SVG | Web graphics, icons and an editable vector handoff. |
| Print handoff when the printer requests it. Check page size and embedded content. | |
| EPS | Older print or sign workflows that still ask for this format. |
| DXF | Some cutting and laser engraving workflows. Confirm the machine's required settings. |
A DXF vector image is not ready for every machine just because you save it. Check units, open paths and duplicate lines with the shop. For print, ask about stroke widths and the color setup before sending the art.
If the final use is a small web image, you may still need a PNG export. Keep the vector source, then create raster images at the right pixel size for each use. You may need both types of file. That does not mean the trace failed.
When you should keep the pixels
You do not need to vectorize an image just because it will be printed. Photos, soft paint washes and rich textures can stay as raster images when they have enough pixels for the output size. A detailed photo trace may produce a huge file without a useful gain.
Vector graphics can grow without losing quality in their paths. They cannot restore detail that was never in the source. That is the key limit of raster to vector conversion.
For a layout built around finished art, the Canva alternatives guide can help you pick an app for type and page design. For a sketch on paper, start with clear lines; the Ohuhu marker guide explains which tips suit broad fills and fine marks.
My advice is simple. Start with a clean source. Trace only what needs paths, then check the result at the size it will be used. That is how you turn an image into useful vector art, rather than just a file with a new ending.